Showstopper Secrets: Prepping Your Car for a Spectacular Car Show
Car shows are a fantastic opportunity for car enthusiasts to showcase their pride and joy to a dedicated audience. Whether you're a seasoned car show veteran or a first-timer, preparing your show car to stand out is crucial. Meticulous attention to detail and car care can make all the difference in winning awards or simply leaving a lasting impression.
Continue reading to discover how to prepare your vehicle for car shows with the proper detailing products and methods. We will guide you in transforming classic cars into stunning masterpieces through simple car detailing. Learn how to get your car ready for the car show season, from the initial wash to the finishing touches. Attain a flawless finish, like a professional detailer.
Whether you’re a seasoned car show champion or just starting on your detailing journey, this car cleaning information is great for all skill levels. Follow along for your ultimate guide to turning heads at the next car show!
Table of Contents
- Washing
- Polishing
- Paint
- Chrome
- Ceramic
- Preparation
- Application
- Engine
- Tires
- Interior
- Glass
- Key Takeaways
Washing and Drying
The first step in preparing your car for a car show is to give it a thorough wash. Use a high-quality car wash soap and a microfiber mitt to gently clean the surface. Pay attention to every nook and cranny, including the undercarriage, wheels, and tires.
We like Ultra Violet™️ Premium Wash’N Wax for its high silicone content. It produces thick, rich suds through a foam cannon and settles evenly over the vehicle surface. Always start from the top and work your way down when washing and drying a vehicle.
Using a foam cannon and pressure washer for washing and rinsing helps you avoid touching the vehicle too much. Likewise, you can use a leaf blower or other pressurized air source to remove the water without making direct contact. Just make sure the tip of the tool doesn’t bang into the car. Then, lightly wipe down the surface with a microfiber where any moisture remains.
Polishing
The next step in auto detailing for a car show is polishing. In this step, you want to remove any water spots, scratches, oxidation, and other imperfections from the paint.
Polishing the Paint
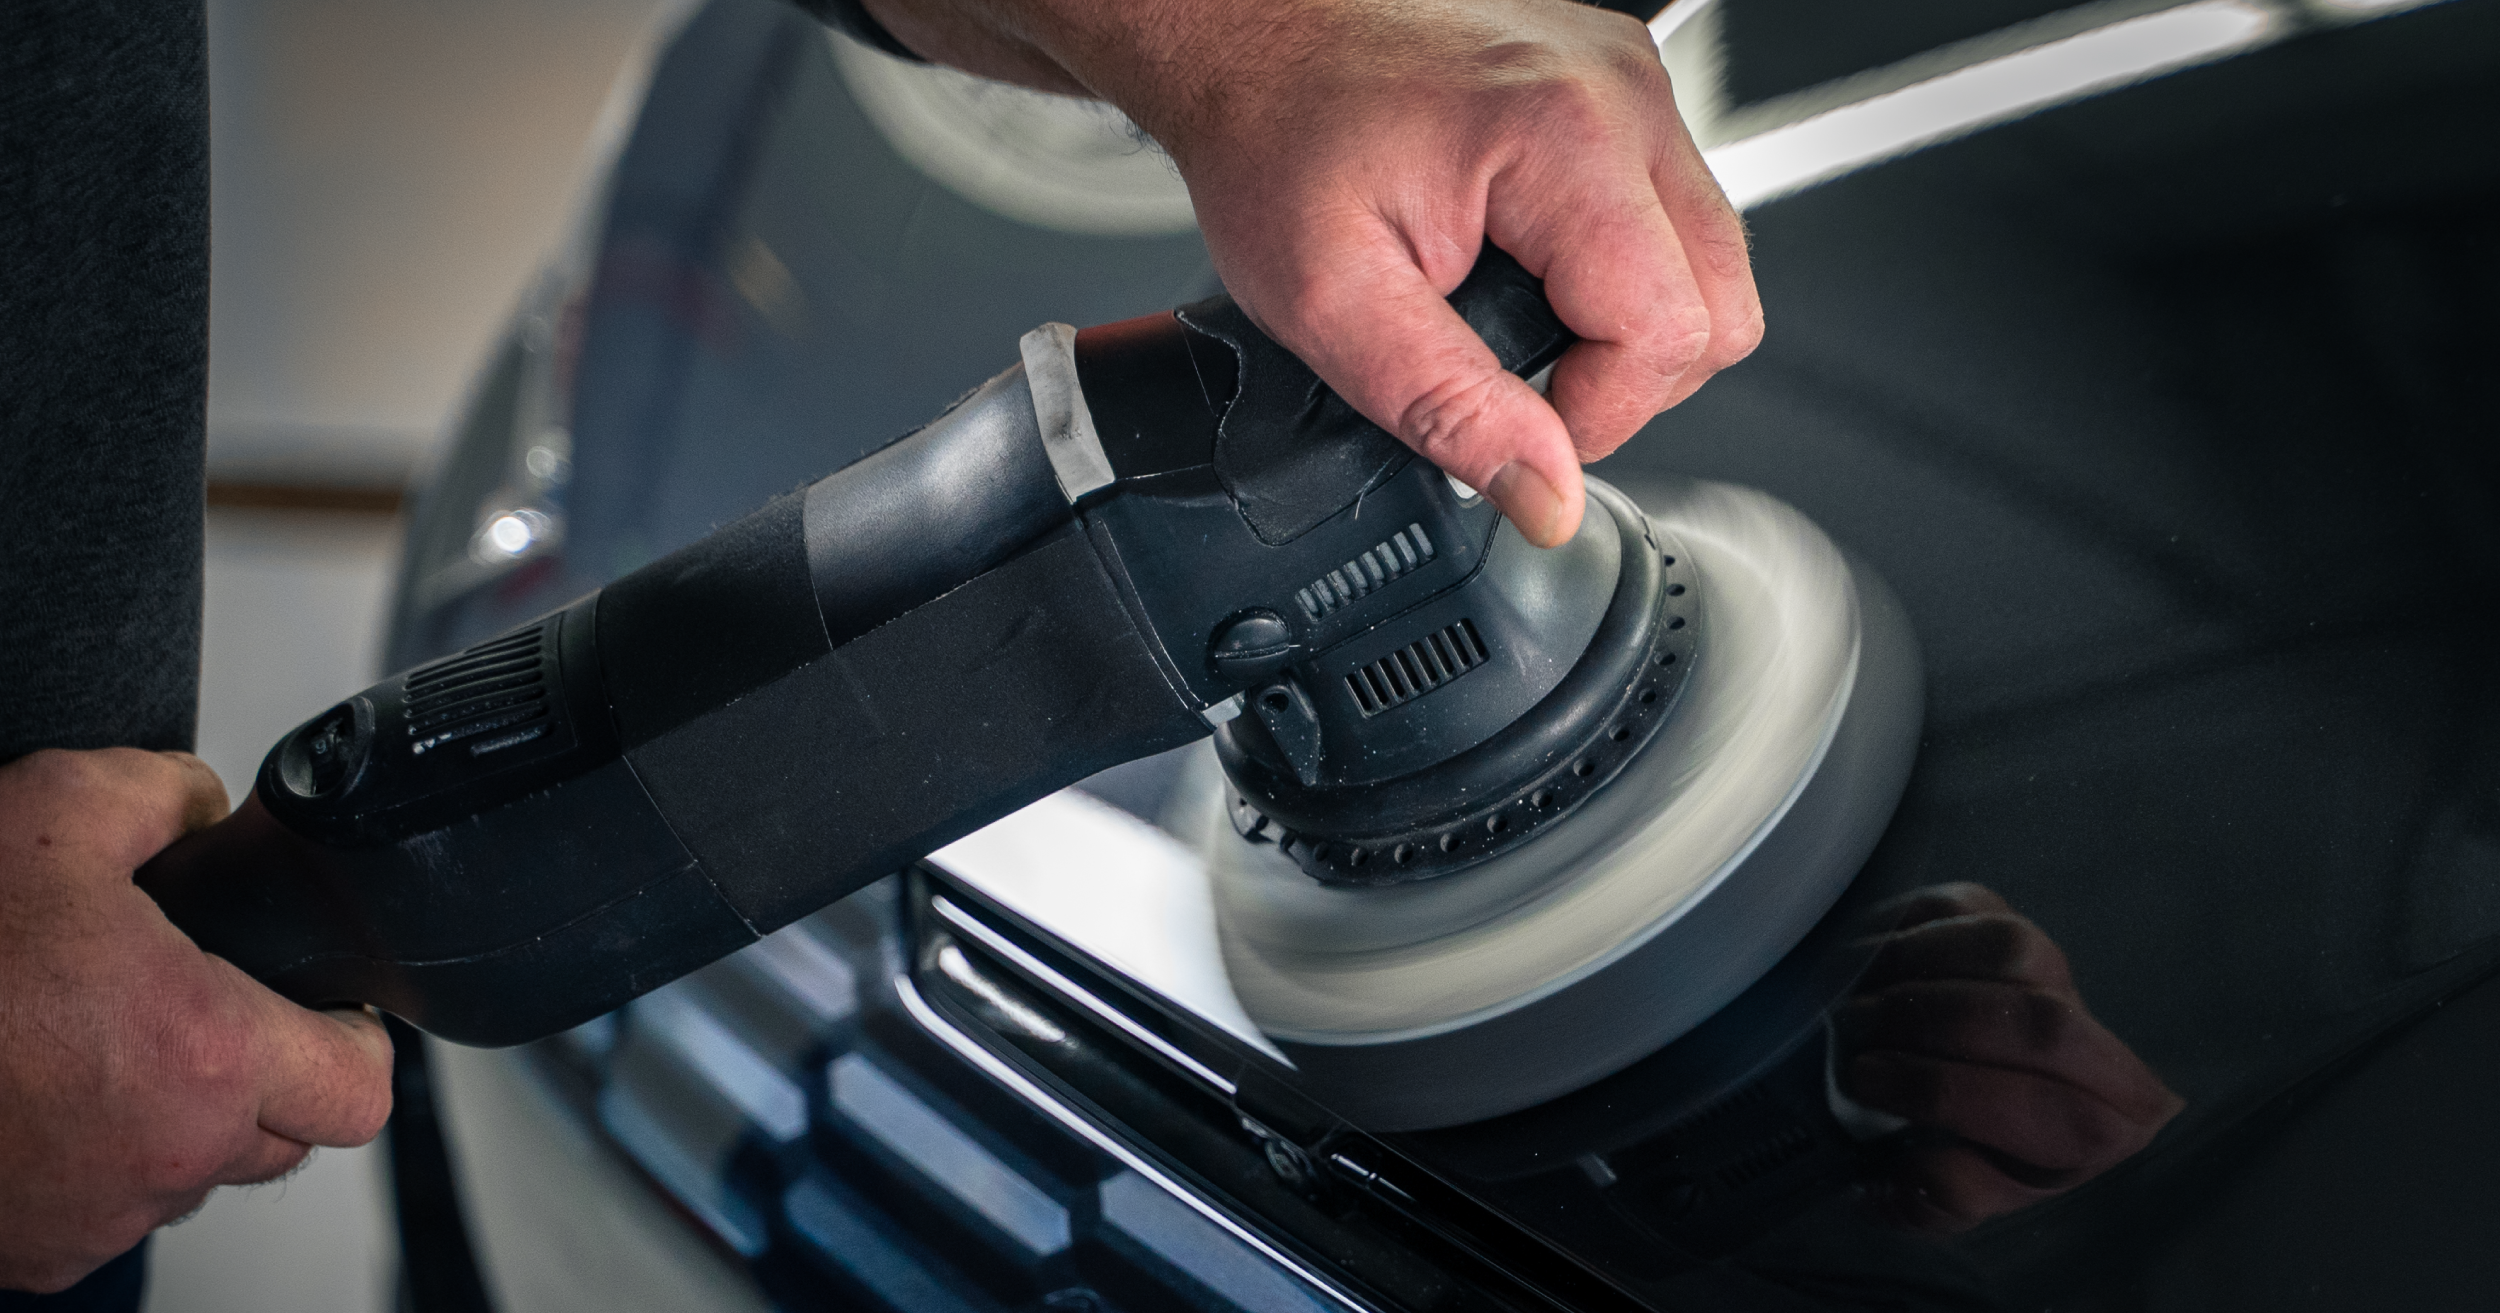
We prefer to use an orbital polisher for this step. Our EPIC®️ Medium Duty Compound is specially designed for use with an orbital and is excellent for medium paint correction. We recommend pairing it with the EPIC®️ Orange Foam Medium Duty Buffing Pad for best results.
With an orbital polisher, less is always more. Apply no more than four drops of the compound to your pad. Work in small, 3-ft X 3-ft sections and overlap each pass by 60-70%.
There are two types of speeds: the speed of the machine and the speed of the detailer. For the initial application of your compound, start at either full speed or one notch below. Lay out the compound over the section you intend to polish.
Then, work in the compound at a slow speed, making sure to overlap each pass. The compound will turn from a milky, opaque color to clear. This is when you know the compound has broken down and you’ve run through it. You can now wipe off any remaining compound with a clean microfiber towel.
Then, inspect the surface to see if the imperfections have been successfully removed. If not, a second pass may be necessary. Don’t overthink it. Orbital polishers are pretty forgiving, even if you are new to buffing. They provide moderate correction while allowing for a higher level of control than rotary buffers. Using a medium-cut pad and compound will also keep you from overcutting the paint.
Polishing the Chrome
Next, you want to polish the chrome. When chrome doesn’t shine like it used to, it’s oxidized. Just as the paint of a car oxidizes, so does chrome. You can polish chrome details by hand or you can use a tool. You can even use the same orbital polisher you used to polish the paint.
We’re going to slow it way down to speed one or two. Cherry Flash®️ Liquid Paste Wax is great for polishing chrome. Put a little bit on the pad you are using. If you are using a machine, use a polish pad. We recommend our EPIC®️ Black Foam Polishing Buffing Pad.
Scratches cannot be removed from chrome. However, you can pull out any oxidation. Make sure to use a pad that’s very, very soft. You can use polishes designed specifically for chrome or you can use a wax.
For chrome details, a tool with a smaller throw or a 3-in tool would be most effective, but you don’t need hundreds of different tools to get the job done. You can use what you have at your disposal.
Ceramic
Now that you’re all finished polishing, it is important to protect your vehicle’s paint with a sealant or coating for a high-gloss finish, abrasion resistance, and enhanced UV protection.
Ceramic Preparation
Before we apply our coating, we want to ensure the surface is prepared for successful adhesion. EPIC®️ Ceramic Final Prep is a contaminant remover that cleans and preps the car surface for a durable bond with coatings and longer-lasting protection. It dissolves and cleans away any remaining compound, wax, residue, and other contamination that may prevent the coating from adhering to the vehicle surface. There’s nothing worse than polishing a car and getting the compound in all the corners and jams. It makes for an unfinished look.
Additionally, rubber on a car tends to oxidize just like paint and chrome. EPIC Ceramic Final Prep can also be sprayed directly onto window molding and more to remove this oxidation and make it look brand new.
As the last step of ceramic preparation, we recommend bringing the car out into the sun for one last inspection. Look at each panel in the sunlight, identifying any swirls or other missed spots. Any holograms, swirls, heavy scratches, or spots of compound that need to be wiped up will be much easier to see in the sun.
Ceramic Paint Protection
Now, that your vehicle surface is washed, corrected, and prepared, you can apply your ceramic coating. We prefer to use a ceramic detail spray, like EPIC®️ CR2 Hydro Protect, for events like car shows. It makes applying this level of protection much easier than traditional ceramic coatings.
When you apply your coating, wear gloves to avoid transferring any oils from your hands. Use two towels during application: one for wet, heavy pickup and to spread the coating and one for a buffing towel to buff in the coating.
Apply your coating to half of the hood, in 20-in X 20-in sections, following it with your wet, heavy pickup towel to spread the product across the surface. Then, take your buffing towel and buff over the top of it. Inspect the coated area for imperfections. Once you’ve confirmed no errors have been made, continue to coat the other half of the hood in the same manner. Inspect each area after coating.
Engine Bay Detailing
For many car enthusiasts, the engine bay is where the heart of the vehicle resides. A spotless engine bay can set your car apart from the competition. Remove any debris, dust, or grease, and clean the engine components thoroughly. Consider dressing the rubber and plastic parts for a clean, glossy finish.
First, remove any grease and oil from under the hood. Use a degreaser that is safe on paint, like Little Red Thunder®️ RTU Biodegradable Cleaner. This degreaser comes pre-diluted and can be sprayed directly onto engine parts. Spray your degreaser onto the underside of the hood and wipe away any grease and oil. While degreasers are relatively safe on chrome, avoid getting any on polished aluminum.
Next, clean the engine compartment area. We recommend using a cleaner and dressing combination, like Malco®️ Clean & Shine for Leather, Plastic and Vinyl. Don’t forget your jams, along with any other crevices in this compartment. Compounds and other products can build up along the edge of the hood.
If you can’t reach certain areas of your engine compartment for wiping, Clean & Shine can be sprayed on and left to cure. Unless those hard-to-reach areas (like the firewall) are absolutely filthy, treating them in this way will do the trick. Clean & Shine can also be used to wipe down radiator hoses.
Use your degreaser on any lines, being mindful not to get it on any polished aluminum parts. To protect your under-the-hood chrome and polished aluminum (valve covers, pulleys, etc.), apply a wax. Cherry Flash is a great option for this. Apply a little bit to a towel and wipe it onto the surface. The nice thing about Cherry Flash is it will also remove any oxidation.
Dressing the Tires
The wheels and tires are often a focal point of attention at car shows. Make sure they're clean, polished, and free from any brake dust or road grime. Use a quality tire dressing to give the tires a dark, rich appearance. We recommend E-Zee Shine™️ Premium Emulsion Dressing.
Grab an applicator pad or towel. Apply a liberal amount of dressing to the towel. We recommend against spraying directly onto the tire. You don’t want to get any dressing on polished aluminum rims and you want to avoid getting any overspray on the car paint. Wipe the dressing onto the tire.
After dressing the tires, wait around 20 minutes before driving to allow the dressing to cure. Some guys like to apply tire dressing at the show as a final touch. Taking this step before heading to the show is safer and keeps the dressing from getting on polished aluminum parts. It also reduces the risk of getting tire sling on the vehicle paint. Learn more about avoiding sling.
Interior Detailing
A well-kept interior can make a world of difference in the overall presentation of your car. Make sure the cabin is free from clutter. Then, clean and condition the upholstery, dashboard, and all interior components.
One of the first things to do is clean up your door panels. If they are vinyl, you can use a leather and vinyl cleaner, like Leather & Plastic Interior Cleaner. Always test the material for colorfastness, in accordance with product label instructions and SDS (safety data sheets), before applying any chemical cleaner or solution. If the cleaner does not change the material’s color or texture, continue with the application. Spray the cleaner onto a clean, microfiber towel and wipe it into the surface.
For carpet cleaning, a simple brush, towel, and carpet cleaner will do the trick. We like Carpet & Upholstery Foaming All-Fabric Cleaner. Using the brush helps you get into the fibers of the carpet to clean up and remove any really stubborn spots. You can use the same brush to clean out the crevices of your floor mats and brake pedal. Wipe away any remaining cleaner with a clean, microfiber towel.
Cleaning the Glass
Next up is glass cleaning. A couple of tips: don’t over-apply your glass cleaner and wipe each side of the glass in a different direction when cleaning.
Start by applying a small amount of cleaner to the glass. If you need to, you can always add more. We prefer an aerosol for quick cleaning, like our foaming Ammonia-Free Glass Cleaner.
Sometimes, you can’t tell if a streak is on the inside or the outside of the glass. One thing that helps is to wipe down one side of the glass in an up-and-down motion. On the other side of the glass, wipe in a side-to-side motion. This way, if you see streaks that are going in a particular direction, you know which side of the glass they are on.
We also recommend using a two-towel method. Wipe the cleaner off with one clean, microfiber towel. Then, follow this with a second wipe-down using a second clean, microfiber towel.
Key Takeaways: Taking the Time to Prepare Before a Car Show Makes All the Difference
Prepping your car for a showstopping appearance at a car show is a labor of love, but the results can be incredibly rewarding. Take the appropriate time to clean, protect, and prepare your vehicle before leaving for your next show to significantly increase your chances of leaving a lasting impression and even taking home an award.


