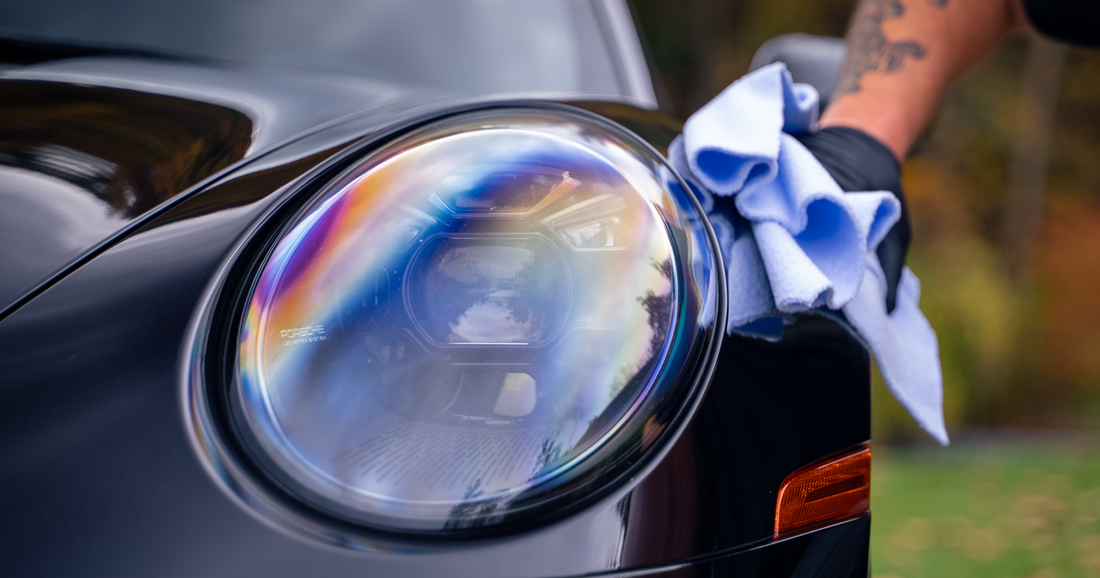
A Complete Guide: Car Exterior Detailing and Cleaning
Labor-intensive, time-consuming, and tedious, washing and cleaning your car can be an overwhelming task. However, choosing the right washes, waxes, and tools is half the battle in car care. Once you are using the right equipment, maintaining a showroom finish through DIY exterior car detailing becomes much less labor-intensive.
Table of Contents
- Why It Matters
- What You Need
- The Process
- Key Takeaways
Why a Clean Car Exterior Matters
A clean car exterior is important for several reasons, both practical and aesthetic, including paint protection, resale value preservation, corrosion and rust prevention, and visibility enhancement. Maintaining a clean car exterior is not only about aesthetics but also about protecting your investment, ensuring safety, and promoting overall vehicle health. Regular car cleaning and auto detailing can go a long way in preserving the appearance and functionality of your car.
What You’ll Need for an Exterior Detail
Maintaining the like-new appearance of your vehicle exterior necessitates the use of appropriate chemicals and equipment. Never use cleaning products that are not designed for automotive purposes, like dish soap. Your choice of product is crucial, as certain cleaners are more suitable for your vehicle than others.
Cleaners You Will Need
- Wheel and tire cleaner
- Degreaser
- Dressing for the engine and tires
- Tar, wax, and grease remover
- Insect remover
- Car wash or wash and wax
- Car wax or ceramic coating (if you do not use a wash and wax)
- Glass cleaner
Equipment You Will Need
- A pressure washer or garden hose
- A wheel and tire brush
- A soft bristle brush
- A sponge
- A wash mitt
- A chamois
- Two wash buckets
- A grit guard
- Applicator pads
- Microfiber towels
- Empty spray bottles
The Process: How to Clean the Exterior of Your Car Like the Pros
Before You Begin
Before washing and cleaning your vehicle, make sure all exterior surfaces are cool and that you have access to a shaded working environment. Access to a garage is ideal, but a shaded area that is out of direct sunlight is also acceptable. NEVER clean or detail hot vehicle surfaces and always work in a ventilated area. High temperatures can cause chemicals to dry and harden, destroying car paint and other materials.
Gather up all of your supplies, before starting, and make yourself familiar with them. It’s important to read and understand all application instructions and safety guidelines before beginning the application. For instance, some products require that gloves or even a face mask be worn during application. Following all application and safety directions reduces the chance of user error and personal injury during the exterior detail process.
1. Clean the Wheels and Tires
Frequent driving and regular wear can result in the accumulation of baked-on brake dust and road grime on wheels, wheel wells, rims, and tires. For fast and efficient removal of this contamination, use a powerful wheel and tire cleaner. Choose a wheel cleaner that is compatible with your particular wheels and will not cause damage.
We recommend using a non-acid formula, like Complete™️ Wheel & Tire Cleaner. It comes ready to use and is safe for virtually all wheel types. Spray it onto wheels and tires directly to dissolve brake dust and dirt.
No matter the wheel cleaner you choose, be sure to read all use and safety instructions before application. Before cleaning your wheels and tires, make sure all surfaces are cool and dry. Work on one wheel at a time. These cleaners are typically very powerful and can cause damage if allowed to dwell for too long. Apply your cleaner and allow it to dwell, as directed by the product label. If necessary to remove heavy soils, agitate surfaces with a wheel and tire brush.
2. Degrease the Engine Bay
A clean engine bay adds a nice touch to your detail and keeps the engine free of harmful debris and contamination. We like to use a degreaser, like Little Red Thunder®️ RTU Biodegradable Cleaner, to tackle this area.
Before beginning, hose down the entire engine bay to remove any large debris. Always work from top to bottom, applying your degreaser to the underside of the car hood and working your way down to the actual engine bay. Follow product instructions for any necessary dwell time and agitate with a soft bristle brush if soils require scrubbing. Finally, rinse away all degreaser, dirt, and any remaining residue to reveal a clean, shiny engine.
3. Protect the Engine Bay Surfaces
Once clean and dry, protect engine surfaces with a compatible dressing. Read and follow all instructions exactly to dilute and apply the product appropriately. Apply a thin, even coat of dressing and do a wipe-down with a clean microfiber cloth to remove any excess. We recommend a waterborne formula, like Aqua Bead™️ Advanced Silicone-Suspension Dressing. This particular dressing can be applied to dry or wet surfaces and will self-level so high spots are less likely. Lastly, close the hood and allow sufficient time for the dressing to air-dry before driving.
4. Decontaminate the Vehicle Paint
Before washing, it is important to rid vehicle surfaces of any harmful contamination, like bug impacts, tree sap, and bird droppings. The solution will depend on the type of contaminant you are treating. Specialized surface preparation products are available for each.
For contaminants such as road soils, oil, wax, sealants, silicone, underbody compounds, and asphalt, we recommend a hard-working formula, like Tar-Get®️ Tar, Wax, and Grease Remover. When using powerful surface preparation solutions, always adhere to label instructions exactly to avoid causing any damage to vehicle surfaces.
For bug impacts and splatters, we recommend a specialty cleaner, like Bug-Off™️ Insect Remover. Simply spray the area to be treated with Bug-Off™️ Insect Remover. Let it dwell for one to two minutes, but don't let it dry completely. Wipe bugs off with a sponge and then rinse the surface. If any debris remains after rinsing, repeat as necessary.
5. Wash the Painted Surfaces
When you wash your vehicle, start with the horizontal parts of the car, washing from left to right and from front to back to loosen dirt. Use the two-bucket method, to keep dirty and soapy water separated. Work in small sections with a wash mitt, using minimal pressure and regularly rinsing to remove debris.
Proceed to vertical surfaces, like door panels, working from top to bottom. Employ proper wash techniques to avoid adding swirl marks. When you’re finished washing, dry the vehicle with a clean chamois, wetting it with clean water and using broad strokes.
Our preferred car wash soap, CW-37™️ Premium Car & Truck Wash Concentrate, is a high-foaming formula that clings to surfaces. It removes dirt, road film, and salt quickly and efficiently without removing any existing wax.
6. Protect the Painted Surfaces
If you want to knock out washing and protecting painted surfaces in one step, choose a wash and wax, like Ultra Violet™️ Premium Wash’N Wax. With this type of wash, you are cleaning the surface and adding a layer of protection.
If you used a traditional car wash, you can now add the protection of your choice. Use wax to enhance shine and add durability, or install a ceramic coating for deeper gloss and longer-lasting protection. For car waxes, follow label instructions for safe and proper application with a pad, buffing machine, or even a microfiber towel. If you choose to apply a ceramic coating, attention to label instructions is even more critical. Coating application requires a high level of care. If you are not comfortable installing one by yourself, we recommend seeking the services of professional detailers.
For a quicker ceramic application, use a ceramic booster or spray, like EPIC®️ CR2 Hydro Protect. This spray-on ceramic boosts existing ceramic coatings or can be used on its own to provide shine and protection.
7. Clean your Windows
The last step in your exterior detail is cleaning the glass and windows. Begin by using a high-quality glass cleaner. We like an easy-to-apply foaming aerosol glass cleaner, like our Ammonia-Free Glass Cleaner.
Spray the cleaner onto the window surface, ensuring complete coverage. Use a microfiber cloth to wipe the inside of the glass in either an up-and-down or side-to-side motion. Continue by wiping your cleaner onto the other side of the glass in the opposite direction. This will ensure that you can determine on which side of the glass any remaining marks or smudges exist. If there are stubborn spots or residue, a second round of cleaning may be necessary.
8. Protect the Tires
As the final step to your exterior detail, add protection and restore shine to your tires with a fresh coat of dressing. You will want to choose the best tire dressing for your particular tires: water or solvent-based. You can apply your dressing with an applicator pad, a brush, or directly with a spray bottle, depending on application instructions and preference. Distribute the dressing across the tire surface in a thin, even coat and allow sufficient time to dry before driving to avoid sling.
Key Takeaways: Exterior Detailing is About More than Aesthetics
Achieving a clean car exterior is not only a matter of aesthetics but a commitment to preserving the integrity and value of your vehicle. From the initial wash to addressing specific areas like wheels and windows, each step plays a crucial role in maintaining a polished appearance. With this guide, you should be able to navigate a simple exterior detail with confidence and without professional detailing services.
By understanding the importance of proper techniques, choosing the right products, and adopting a methodical approach, you can transform your vehicle into a showcase of cleanliness and shine. Remember, regular automotive maintenance and detailing not only enhance your car's visual appeal but also contribute to its longevity.
For more, read our guide on how to detail a car interior.
