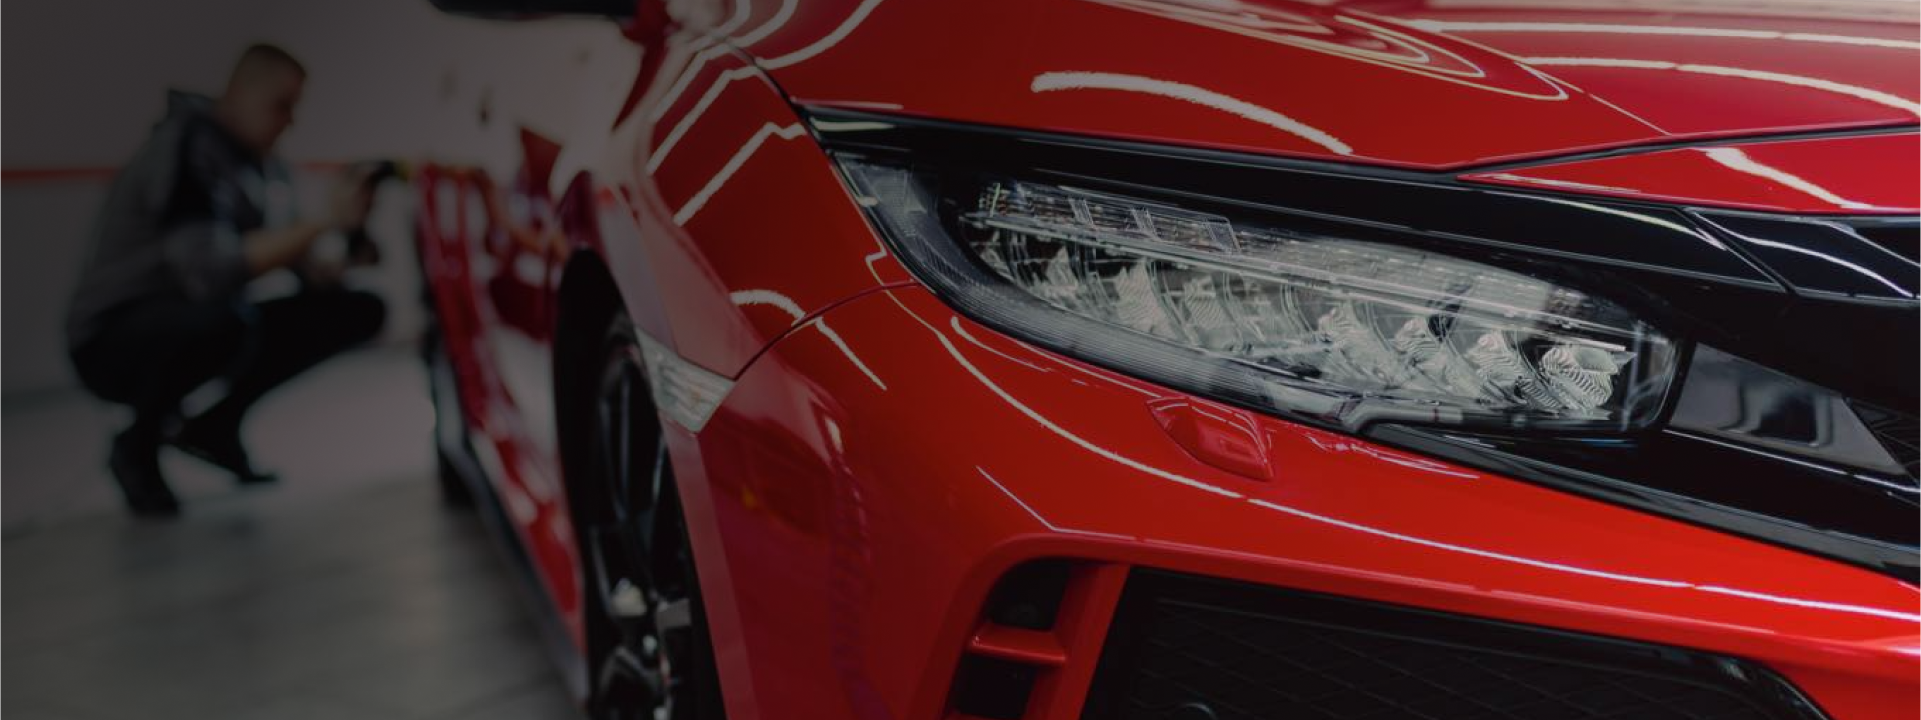
A Guide to Applying Car Wax with a Buffer
Waxing is essential in car care and maintaining your vehicle’s clear coat. This critical car detailing step does not have to be time-consuming. Rather than hand-applying automotive wax to your car’s paint, you can use a buffing machine to speed up the process. Pairing the right wax with the appropriate tool can make all the difference. Use these tips to cut down on application time, without sacrificing finish or protection.
Table of Contents
- Waxes
- Buffers
- Surface Prep
- Application
- FAQs
- Conclusion
Choose the Right Car Wax
Paste Car Wax
Paste wax is thicker than other wax options. It can even be hard and flakey. Many long-time, professional auto detailers prefer this consistency of wax for its ability to provide superior sheen, increased durability, and lasting protection. However, paste waxes can take much longer to apply by hand than liquid or spray waxes. This is where your buffing machine comes in. Paste waxes are great candidates for machine application and apply much faster this way.
Premium paste waxes contain a natural wax called Carnauba that ensures a smooth, buttery finish. Malco® paste waxes are formulated with this high-quality ingredient and protect car paint for up to 12 months.
Liquid Car Wax
Liquid waxes are much thinner in consistency than paste waxes. This quality makes this type of wax much easier and faster to apply and remove. Liquid wax can be applied using a microfiber cloth, foam applicator pad, or a car buffer. The result is a much “wetter” finish than can be achieved with paste wax. Nonetheless, the surface protection provided by liquid wax will not typically last as long as that provided by your traditional paste wax.
If versatility and ease of application are the goals, opt for a liquid paste wax like Flash® Liquid Paste Wax or Cherry Flash® Liquid Paste Wax. Both of these high-quality waxes can protect car paint for up to two months. If protection from the sun is vital, our Nano Care® Banana Creme Wax contains dual UV inhibitors for superior clear coat preservation. This liquid creme wax provides durability for up to nine months.
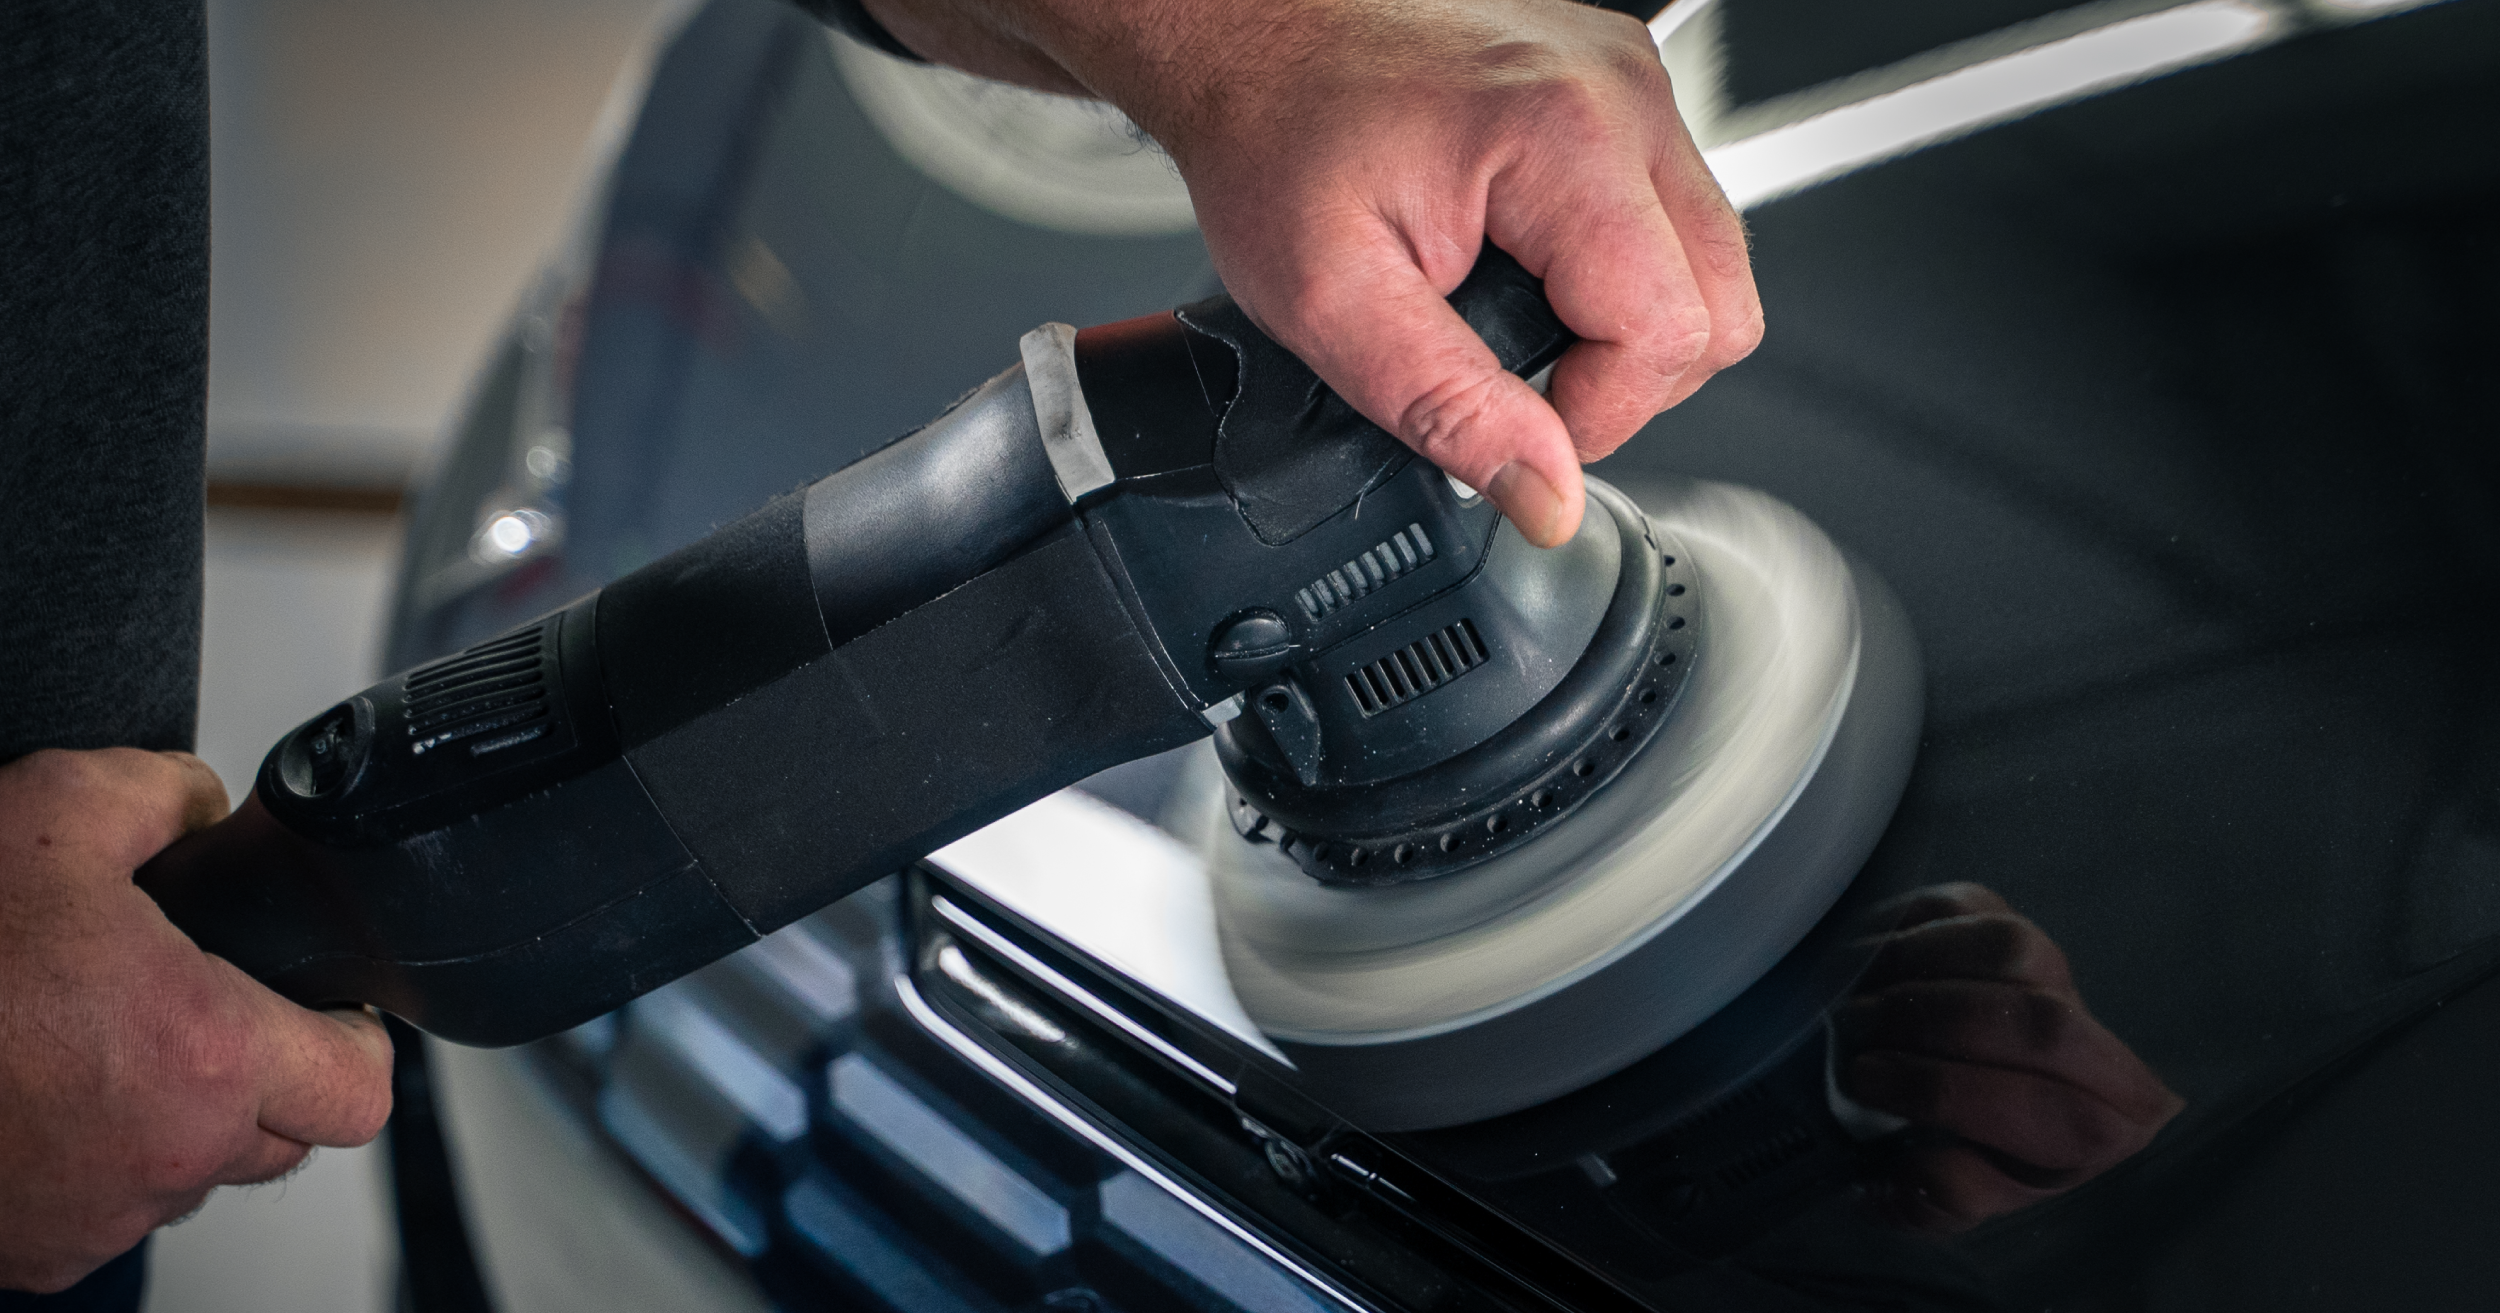
Choose the Right Buffer
Rotary Buffer
In general, it is important to note that rotary buffers (also referred to as “rotary polishers”) are not ideal for applying waxes. There is a greater risk of creating swirl marks and scratches. While these tools are excellent at buffing away imperfections, it can be a gamble to use them in a late-stage step like waxing. Rotary buffers require much more control and a higher level of experience to operate than orbital buffers. They rotate in a circular motion in a single direction, which has a tendency to build up heat much quicker when you buff a car.
Orbital Buffer
Orbital buffers are a better choice for wax application. They are the safest and most beginner-friendly option for buffing, as they do not build up heat and friction on the vehicle surface as quickly as rotary buffers. They rotate in an eccentric circular motion that is much safer for car paint. While these machines aren’t as quick to cut, they allow a slightly longer working window and offer a bit more control. Luckily, wax application does not require heavy cutting capabilities, making the orbital buffer a fine choice. Plus, these machines are much more likely to leave behind a refined finish, without the potential hazing and swirls that can be left behind by rotary buffers.
Buffing Pads
Buffing pad choice is also essential to reaching desired results. Consider factors like material, flexibility, cut, surface size, and machine type. For wax application with an orbital buffer, be sure to use a very soft, clean polish pad to avoid marring the surface during application.
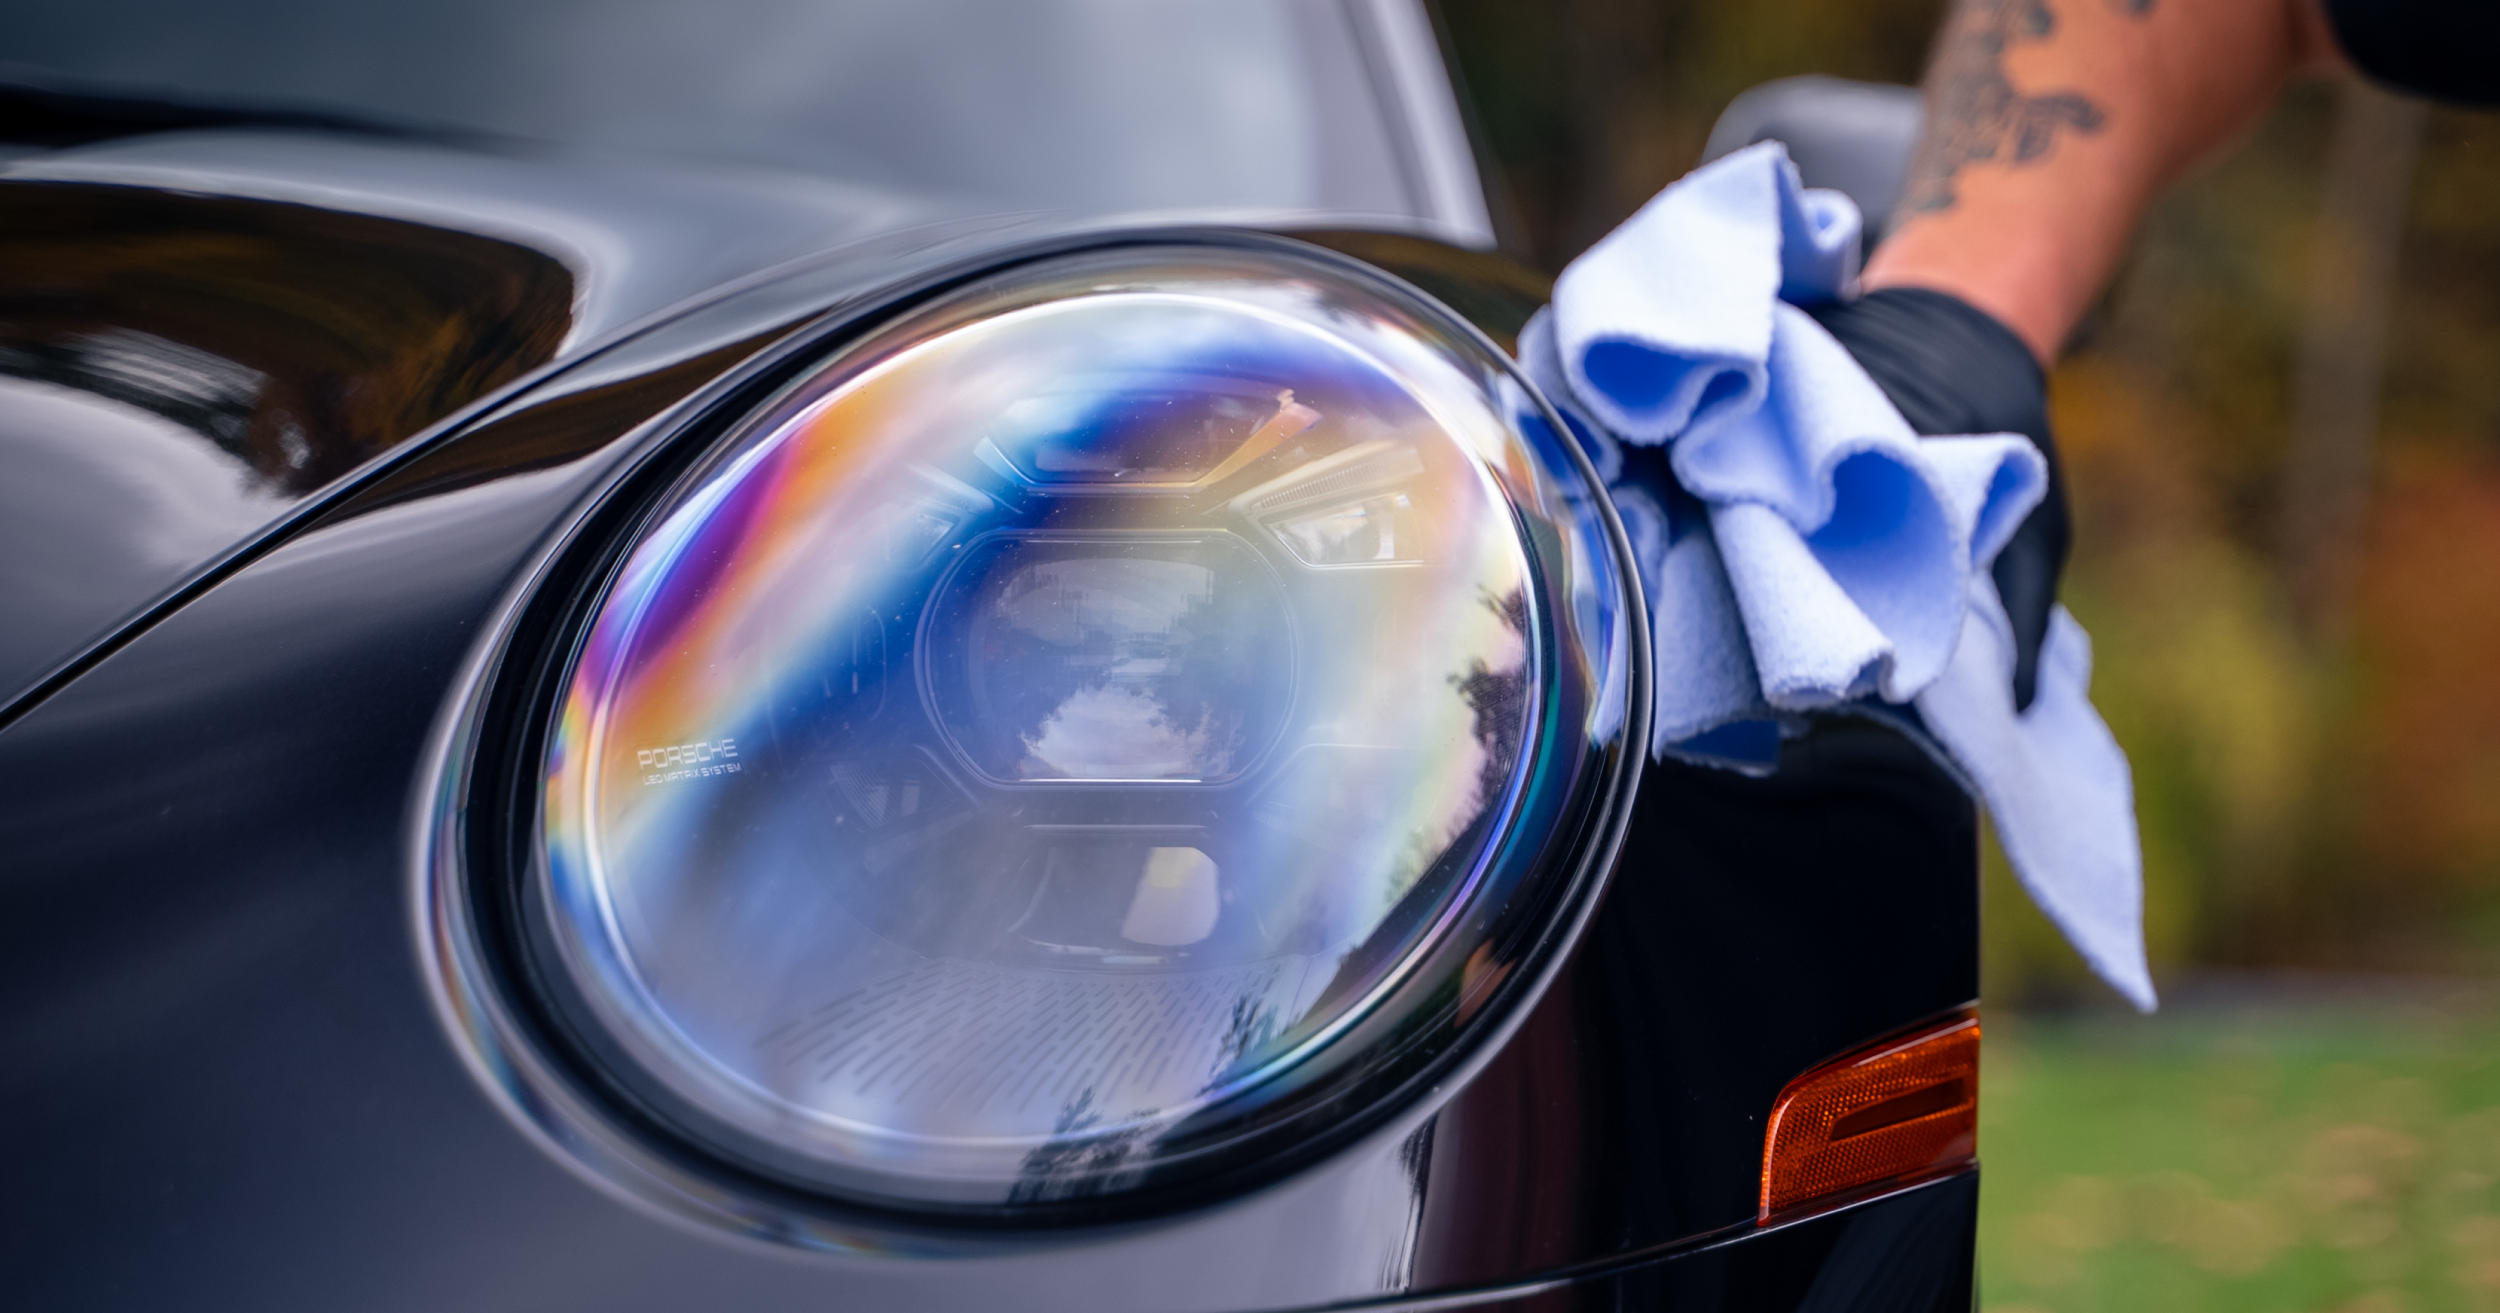
Prepare Your Vehicle to Apply Wax
Waxing your car will restore its shine and protect its paint from contamination. However, some critical steps must be taken to prepare for car wax application.
Remove Surface Contaminants
One crucial step in car wax preparation is the removal of surface contamination. Contaminants come in the form of residual adhesive, tar, grease, road oil, tree sap, bug impacts, environmental fallout, and more. It’s important to remove these impurities prior to washing, buffing, and waxing to avoid working them into the clear coat any further. Each type of impurity requires a different chemical solution or product for safe and proper removal.
Annihilator™ Transit Coating Remover effectively removes petroleum-based transit coatings and cosmoline from automotive surfaces. For a slightly longer working window, A&L Cosmoline Remover is safe to use on any painted surface and is ideal for preparing new vehicles for sale, as it removes sticker and label residue, cosmoline, and petroleum-based transit coatings from car paint.
Water-based Super-Citra Clean™ Tar, Wax & Grease Remover also removes cosmoline, transit coatings, and petroleum-based soils. Additionally, it is excellent at eliminating tar, wax, and grease. A great solvent-based option for these types of contamination is Tar-Get® Tar, Wax & Grease Remover. As its name states, it is designed for the removal of tar, wax, and grease. It also removes road oil, sealants, silicone, and underbody compounds from painted and unpainted automotive surfaces.
To rid car paint of tree sap and other environmental fallout, use a solvent-based solution like Surface & Paint Clarifier. This formula doesn’t require any dilution or scrubbing. Simply, spray it on and wipe it off.
To easily remove squashed bugs from automotive surfaces, use a specialty cleaner like Bug-Off™ Insect Remover. This high-quality formula is the perfect pre-wash treatment for vehicles with large frontal surface areas, like trucks, buses, and RVs.
Clean with a Car Wash
Next, be sure to wash your vehicle thoroughly to remove any remaining debris and chemicals. Be sure to choose the appropriate car wash for your needs and always read label instructions for proper dilution and application. High-quality, concentrated car washes tackle soils like road film, salt, dirt, grease, and grime.
Clay Bar Remaining Contamination
A final and crucial step in preparing your clear coat for buffing and wax application is clay bar treatment. Clay will effectively remove any remaining contamination from the car paint that has not been addressed in the previous two steps. Traditional clay bars are aggressive and efficient, but it is essential to continually massage and fold over the clay to avoid reintroducing captured contamination back into the paint. Similarly, a dropped clay bar must be replaced immediately, as it will have gathered dirt and dust from the contact surface that can mar the vehicle surface.
An alternative to the traditional clay bar, synthetic clay mitts pose a much lower risk of reintroducing contamination. While slightly less aggressive, these clay bar alternatives can often be rinsed off if dropped and can last much longer. The Kozak™ Clay Wash Mitt lasts four times longer than the traditional clay bar and is designed with advanced clay polymer technology to safely remove surface contaminants, like tree sap, paint overspray, water spots, and rail dust, from automotive paint, glass, and trim.
No matter the chosen method, it is always necessary to use a clay lubricant. Clay lubricants allow the clay to slide smoothly across automotive surfaces without sticking or marring. Lubricants can also extend the life of your clay bar or clay alternative, as they reduce the amount of friction that is created. Showroom Shine™ Spray Wax is a great clay lubricant option.
Buff Away Imperfections & Oxidation
Once these first three steps are complete, you can buff and polish away any imperfections or oxidation in your car paint. These imperfections can include light to deep scratches, oxidation, and other defects. For this, you want to use a buffing or polishing compound (depending on the level of correction required) with cutting abilities that match the severity of your imperfections. Your compound choice also depends much on the tools you have at your disposal. In addition, many compounds are designed for compatibility with either a rotary buffer or an orbital buffer.
Our EPIC® Paint Correction Kit was specifically formulated for buffing with an orbital buffer. This system comes with everything you need to correct your car paint and achieve a brilliant finish in fewer steps and with less effort.
For use with a rotary buffer, Tru-Grit® Heavy-Duty Compound is designed with special abrasives for the removal of 1000-grit and finer sand scratches from both fully-cured and 24-hour-old high solids and standard clear coats. For 1500-grit and finer sand scratches, use Super-Duty™ Heavy-Cut Compound. This aggressive buffing compound is ideal for oxidation and heavy scratch removal from both clear coat and gel coat surfaces.
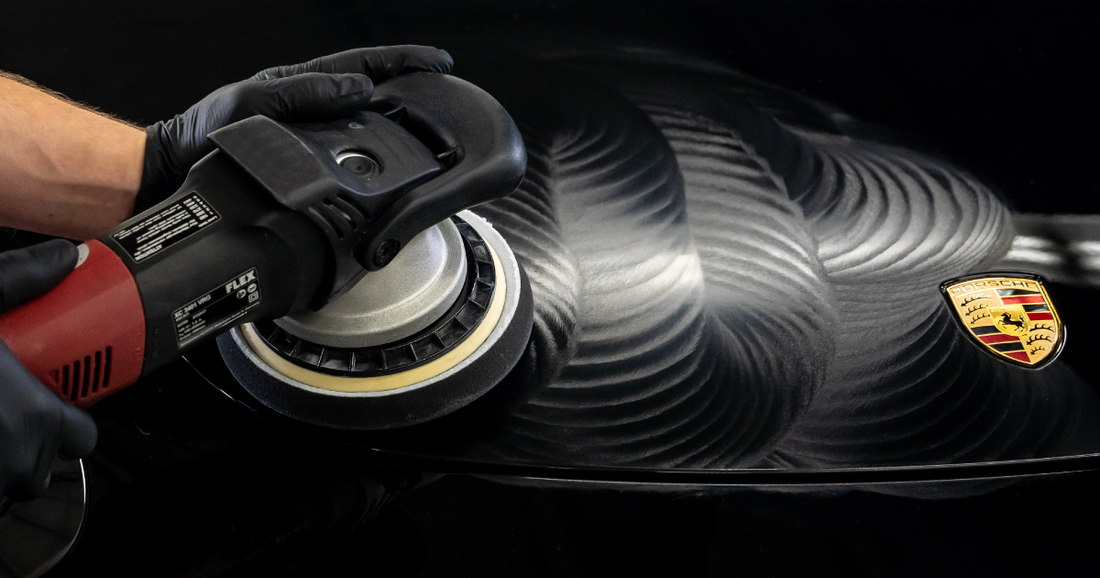
Step-by-Step Buffer Waxing Process
Applying Wax
If you are using a brand-new buffing pad, flex it a bit before attaching it to the orbital buffer. Next, evenly distribute a light coat of car wax across its face. This step is called “seasoning” the pad and is essential if you are using a brand-new one. Work the product into the pores of the pad with a finger to ensure no part of it is left dry.
To avoid damage to your clear coat and car paint, apply car wax indoors (or at least out of direct sunlight) and to a cool surface. Never apply wax to a vehicle that is hot off the road or that has been sitting in the sun. Excess wax must be removed quickly to avoid hardening on the vehicle surface (depending on the wax type, this can be done with a microfiber towel or mechanically with a buffer). This becomes much more difficult in the sun, as the product will dry and harden much faster. There are some exceptions to this rule. Be sure to read the entire label of your chosen wax to understand its capabilities and apply it according to label instructions.
Avoid adding too much product to the pad. Application and cleanup become more difficult and time-consuming if too much car wax is used. Center the buffing pad on the backing plate of the machine. Hold your buffer so the cord hangs back over one of your shoulders, allowing you to maneuver much more easily without becoming tangled.
Apply three to four pea-sized drops of car wax to the buffing pad. Then, turn the polisher down to its lowest speed setting. Begin applying the wax, at low speed and low pressure, working in a two-foot by two-foot cross-hatch pattern.
Variable Speed
It is always critical to consider speed setting. If your machine is spinning too fast or too slow, it may actually do damage to your clear coat and car paint. For safe application (of compounds and waxes) it is imperative that speed is weighed against things like pressure, cut, paint type, and even the specific solution being used. Speed is measured in revolutions per minute (RPMs) and is often referenced on a product label. Be sure to check the recommended RPM on a given product label, prior to application.
Hazing & Flashing
For paste car wax, it is safe to buff off the residual product after it begins to haze. Do this with the same orbital buffer used in the application step. Hazing occurs when the wax begins to look a bit chalky. For liquid and thinner consistency waxes, it is safe to remove excess product when flashing occurs. Flashing appears more iridescent than chalky. At this point, use a clean microfiber cloth to wipe down the section before moving to the next.
More is not more when it comes to car wax. Only so much of the wax will adhere to the vehicle surface. If you have chosen to apply a paste wax, do not overlap passes. This will create a milky buildup at the point of overlap and will be extremely difficult to clean and remove.
Frequently Asked Questions
How often should I wax my car?
How often you should wax your car depends heavily on the car wax you are using. Paste waxes tend to provide surface protection for much longer than other wax consistencies. Always refer to the product label to determine when you must re-apply. Remember to consider your specific climate, as well. Environmental factors can deplete wax protection much faster than average, depending on where you are located.
How many coats of car wax should I use?
You should only ever need to apply one coat of car wax at a time. Wax bonds to the vehicle surface but will not bond to itself. Applying wax in a thin, even layer is more effective in protecting car paint than applying multiple coats.
What do professionals use to wax a car?
Professional automotive detailers may be much more comfortable buffing with a rotary buffer over an orbital buffer. However, when it comes to applying wax, they will never use a rotary buffer. Professionals are going to apply wax either by hand or with an orbital buffer to reach the desired finish. Wax choice may heavily depend on customer expectations and price point. Professionals possess the skills to work with more difficult-to-use paste car waxes, while we recommend that an automotive enthusiast skip the hand application and use an orbital buffer to apply a liquid paste wax for the fastest and easiest application.
Conclusion: Apply Car Wax Faster with a Buffer
Using a buffer to apply wax to your vehicle is an excellent way to speed up application and production time. It's a fast and simple way to protect a car’s paint and clear coat. Follow these steps to choose the right car wax and buffing machine, prepare the vehicle surface, and apply wax with a buffer.